

Are you interested in creating your own electronic projects and learning about programming? Look no further than the world of Arduino! This open-source electronic platform has revolutionized the way people learn and create in the field of electronics. Whether you’re new to the world of electronics or have some experience, this guide will cover all the basics of Arduino for beginners.
What is Arduino?
Arduino is an open-source electronics platform based on easy-to-use hardware and software. It consists of a microcontroller board and a development environment, making it simple for anyone to create interactive electronic projects. The platform was created in 2005 by Massimo Banzi, David Cuartielles, Tom Igoe, Gianluca Martino, and David Mellis at the Interaction Design Institute Ivrea in Italy.
History of Arduino
The roots of Arduino can be traced back to the early 2000s when the founders were looking for a user-friendly tool to teach electronics and programming to their students. They wanted something versatile, easy to use, and affordable. Thus, the first Arduino prototype was born, and the rest is history. Since then, Arduino has become popular not only in educational settings but also among hobbyists, artists, and professionals.
Features of Arduino
There are several features that make Arduino stand out from other electronic platforms:
- Versatility: With its wide range of boards and shields, Arduino can handle a variety of tasks, from basic LED blinking to complex robotics and automation projects.
- Easy to use: The development environment of Arduino, known as the Arduino IDE, is user-friendly and simple to navigate. Even those with little to no coding experience can quickly get started.
- Open-source: Being open-source means that the hardware and software specifications are available to the public, allowing users to modify and customize their boards and projects according to their needs.
- Affordable: Arduino boards are relatively inexpensive compared to other similar platforms, making it accessible to a wider audience.
How Does Arduino Work?
Arduino consists of two main components: the hardware and the software. The hardware refers to the Arduino board, which contains a microcontroller, input/output pins, and other essential components. The software, known as the Arduino IDE, is a program used to create, edit, and upload code to the board.
Setting Up Your Arduino Board
Before you can start creating projects with Arduino, you need to set up your board first. Here’s how:
- Connect the USB cable from your computer to the Arduino board.
- Open the Arduino IDE, then go to Tools > Board and select the appropriate board for your project.
- Next, click on Tools > Port and select the port where your board is connected.
- Your Arduino board is now ready to use!
Understanding the Arduino IDE
The Arduino IDE is where you will write and upload your code to the board. Here’s a brief overview of its components:
- Sketch Area: This is where you will write your code.
- Verify: Clicking this button checks your code for any errors.
- Upload: Once your code is verified, clicking this button uploads it to your board.
- Serial Monitor: This window displays data sent from the board via the serial port.
Getting Started with Programming

Now that your board is set up, it’s time to get familiar with programming in Arduino. Here are some essential concepts to know:
Variables
Variables are used to store values in your program. They can be numbers, characters, or text. To declare a variable, use the syntax datatype variablename = value; For example, int age = 25; declares an integer variable called “age” with a value of 25.
Functions
Functions are blocks of code that perform a specific task. They help to organize your code and make it more readable. Arduino has two types of functions: built-in and user-defined. Built-in functions are already available in the Arduino library, while user-defined functions are created by the user.
Conditional Statements
Conditional statements allow your program to take different actions based on certain conditions. The most commonly used conditional statement is the if statement, which executes a block of code if a given condition is true.
Loops
Loops allow you to execute a block of code repeatedly until a condition is met. There are three types of loops in Arduino: for, while, and do-while. These loops can be used for tasks like controlling LED lights or reading data from sensors.
Using Sensors and Actuators with Arduino
One of the main advantages of using Arduino is its ability to interface with sensors and actuators. Here’s how to get started:
Choosing the Right Sensor
There are various types of sensors available, each with its own purpose and function. Before choosing a sensor, it’s essential to consider what type of data you want to collect and the environment in which it will be used. Some common types of sensors include temperature, light, sound, and motion sensors.
Connecting Sensors to Arduino
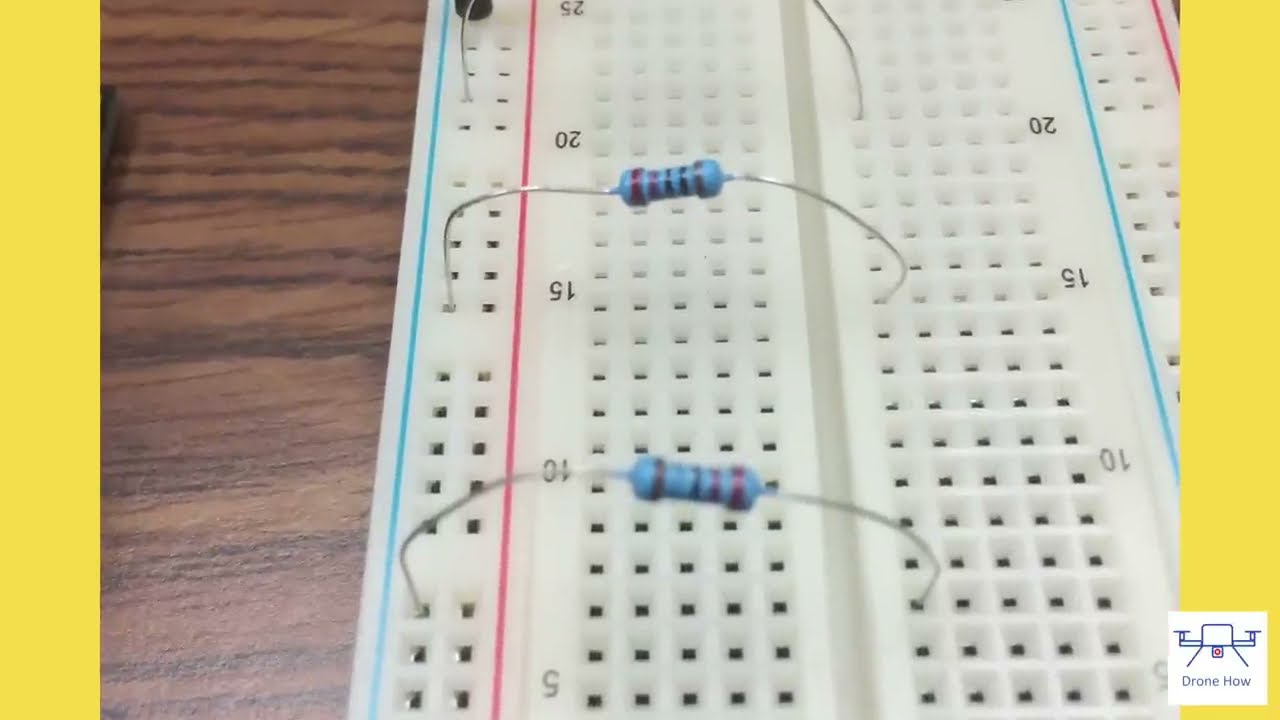
To connect a sensor to your Arduino board, you need to use the appropriate pins. Most sensors have three pins: VCC (positive), GND (negative), and an output pin that sends data to the board. Consult the datasheet of your sensor to determine which pins to use.
Using Actuators
Actuators are devices that convert electrical signals into physical movement. Examples of actuators include motors, servos, and solenoids. To use an actuator with Arduino, you must first connect it to an external power source and then control it using one of the output pins on your board.
Examples of Arduino Projects for Beginners
Here are some fun and easy projects you can create with Arduino:
- Blinking LED: This classic beginner project involves wiring an LED light to your board and programming it to blink at different intervals. This project is an excellent way to get familiar with the basics of coding and hardware connections.
- Temperature Control System: Using a temperature sensor and a fan attached to a servo motor, you can create a system that automatically turns on the fan when the temperature rises above a certain threshold.
- Ultrasonic Sensor Alarm: This project uses an ultrasonic sensor to detect motion and trigger an alarm when someone enters a designated area. It’s a great way to learn about sensors and how they can be used in security applications.
Comparisons with Other Electronic Platforms
While there are many electronic platforms available, Arduino has some distinct advantages that set it apart from the rest:
- Raspberry Pi: Unlike Raspberry Pi, which is a full-fledged computer, Arduino is a microcontroller-based platform. This makes it more suitable for projects that require real-time processing and control.
- Micro:bit: Similar to Arduino, Micro:bit is also an open-source electronics platform designed for education. However, Arduino has a more extensive community and library of projects, making it easier to find resources and support.
- LEGO Mindstorms: While LEGO Mindstorms is a popular choice for robotics projects, it may not be as versatile as Arduino due to its limited number of sensors and actuators.
Tips and Advice for Beginners
If you’re new to Arduino, here are some tips to keep in mind:
- Start simple: Don’t jump into complex projects right away. Begin with simple projects to get familiar with the platform and build your skills gradually.
- Join the community: There is a vast community of arduino enthusiasts and experts who are always willing to help and share their knowledge. Join online forums and communities to get advice and inspiration for your projects.
- Experiment: One of the best ways to learn is through trial and error. Don’t be afraid to experiment and try new things. It’s also a great way to come up with unique and innovative projects.
Frequently Asked Questions
Q: Do I need any prior knowledge in electronics or programming to use Arduino?
A: No, not at all! Arduino is designed for beginners and can be used by anyone interested in learning about electronics and programming.
Q: Can I use Arduino for commercial projects?
A: Yes, you can! Arduino is open-source, which means you can use it for personal or commercial purposes without any restrictions.
Q: Is Arduino suitable for children?
A: Yes, Arduino is an excellent platform for children to learn about electronics and programming. There are also kid-friendly versions of Arduino boards available, such as Arduino Uno R3 for kids.
Q: How do I power my Arduino board?
A: You can power your board using a USB cable, a 9V battery, or an external power supply.
Q: Is there a limit on the number of sensors and actuators I can connect to my Arduino board?
A: Yes, each board has a limited number of pins, so you may need to use additional components like multiplexers and shift registers if you want to connect multiple sensors and actuators.
Conclusion
Arduino is a fantastic platform for beginners looking to explore the world of electronics and programming. With its user-friendly interface, vast community, and endless possibilities, it’s no wonder why Arduino has become the go-to choice for countless people around the world. So, go ahead and dive into the world of Arduino; you’ll be amazed at what you can create!